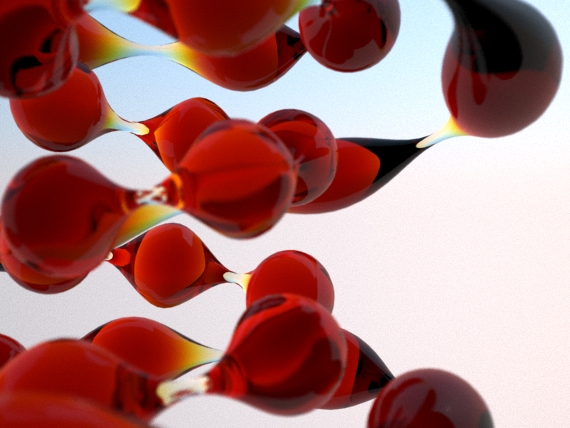
The scene is just a Torus Knot object with V-Ray Sun + Sky. Nothing more.
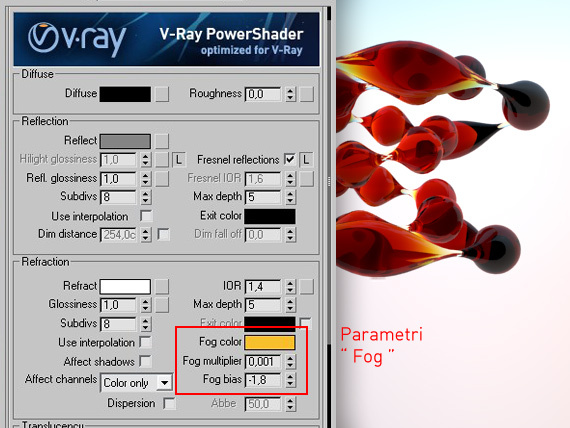
Here a screenshot to show you how I set this material:

I used the classic V-Ray glass simulation, adding a touch of ”negative fog bias” .
« Ohh Ciro, wow… it’s amazing! But…what does it mean “Negative fog bias” ?! » :-[
Well, a little introduction about general Fog Color settings is needed. Fog color is used to simulate colorful refractions, the default value is white (glass = neutral). But if we give a color, the glass will result in color: its color will be in relation to the thickness of the object:- Thin objects will have light and soft colors
- Thick objects will have intense and dark colors
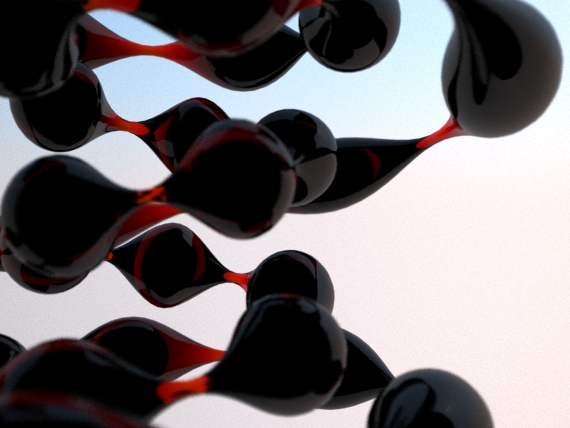
Here is the effect just for “Fog Color” option:

As you can see, the color intensity changes for thick and thin areas.
Fog Bias! This parameter allows you to adjust the contrast for transition thin-thik areas. If you use negative values you can emphasize the effect producing:
- darker colors for THICK areas
- clearer colors for THIN areas
Here the parameters I used in the first image:
Fog color: 236 – 135 – 5 (rgb) / red color
Fog multiplier: 0,001 / brightens the refraction
Fog Bias: -1.8 / increase contrast thick-thin
Result:

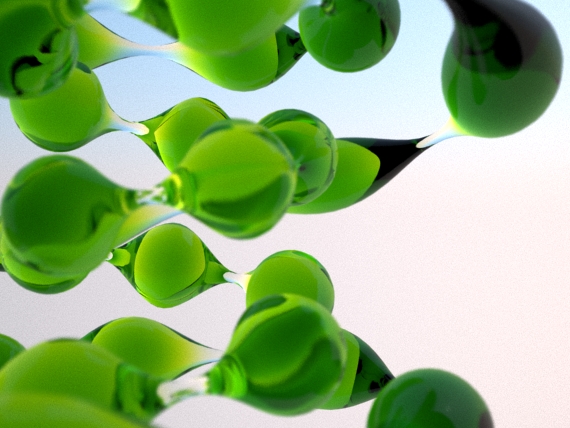
Choose a color and balance Multipier Fog / Fog Bias. The reddish color is perfect for “warm glass” , but also with other colors, fun things happen:

( Fog Color = 210 – 238 – 54 / RGB)

No comments:
Post a Comment