Search This Blog

Welcome to Rendering Tutorial Site

Welcome to Rendering Tutorial site. This site is develop to help artist, architects, advertisers, visual artists and hobbyist a place to share, gain and learn from tutorial writers, important knowledge, tricks and tips in using rendering and image processing software. Some of the link here were cross posted from other sites, some of them were develop for this site, and some of them were shared wholeheartedly by different individuals.

Monday 19 December 2011

Vray Fur Tutorial

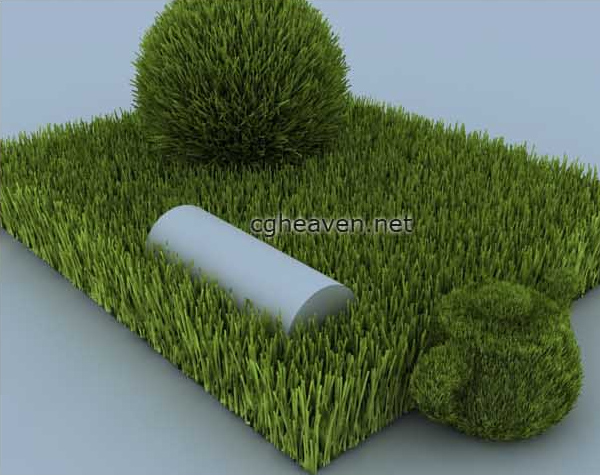
Vray fur – cgheaven.net


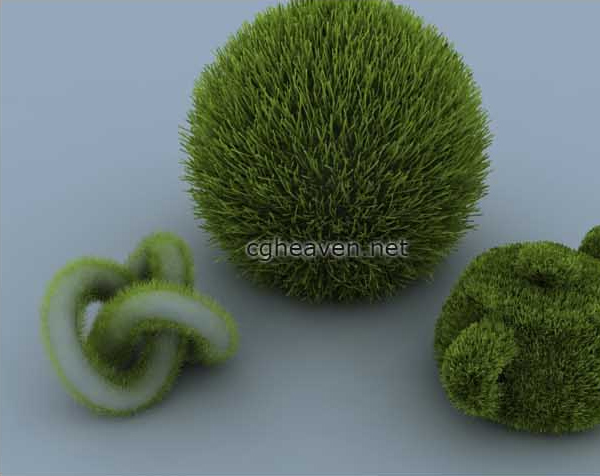
VRayFur is a very simple procedural fur plugin.
( In Grass and Carpets there is a gift for you related to vray fur! ).
This tutorial is about the fur is generated only during render time and is not actually present in the scene.
Have a look here to understand how to set a scene and create many different landscape changings few parameters.
Remember that VRayFur will not work with VRayPlane as a base object, beacuse it needs subdivision to distribute fur.
> I recovered this great tutorial from cgheaven.net, a good forum who disappeared some years ago <
Hey, this is a grass tutorial, pretty basic but you can use it to make some really nice non-animated scenes. Anyway let’s get started.

1# Open up 3ds max, you must have a copy of V-Ray


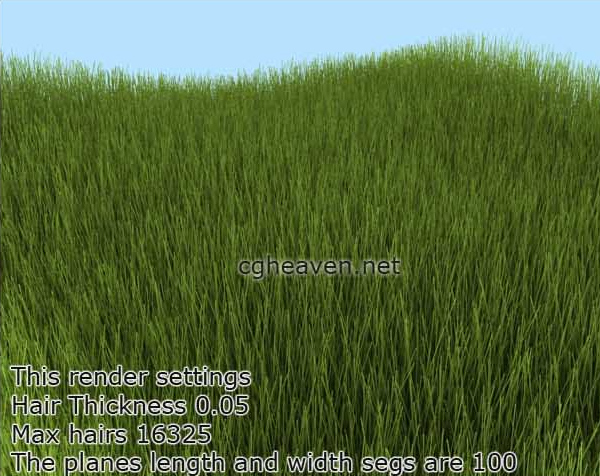
2# Make a plane set lenght and width segs to 100,  so you have quite a dense mesh


3# Select the plane the go into the object menus abd select vray then clic on vray fur
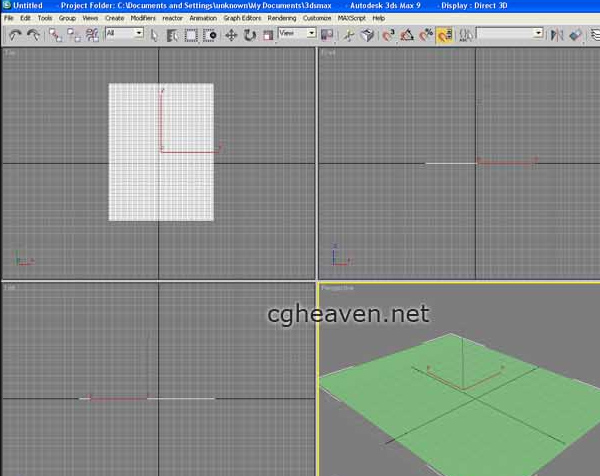

4# You should now start to see something similar to what I get below. Now we will change settings to create the grass.
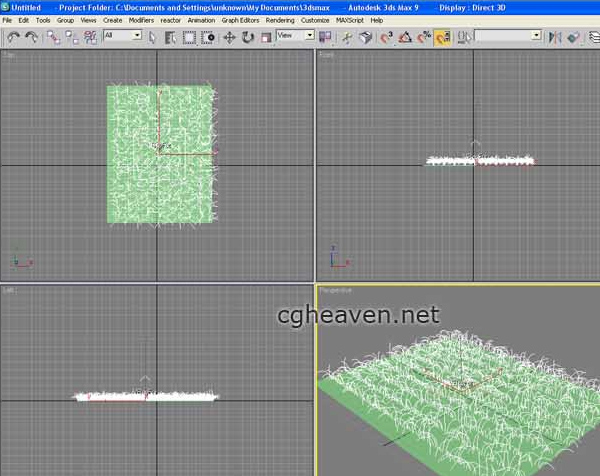

5# First we will change the gravity to 2.5 (NOT -2.5), next change the lenght var to 1.0 this will give us the slightly grass effect. Change the grass lenght to 21. You will also want to change the max hairs to 3001, it’s located at the bottom of the side bar.
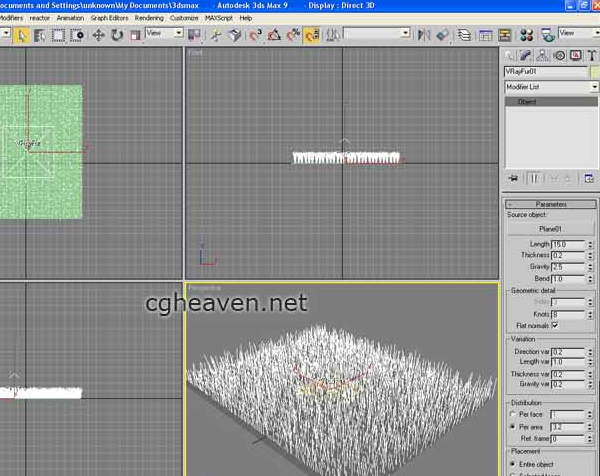

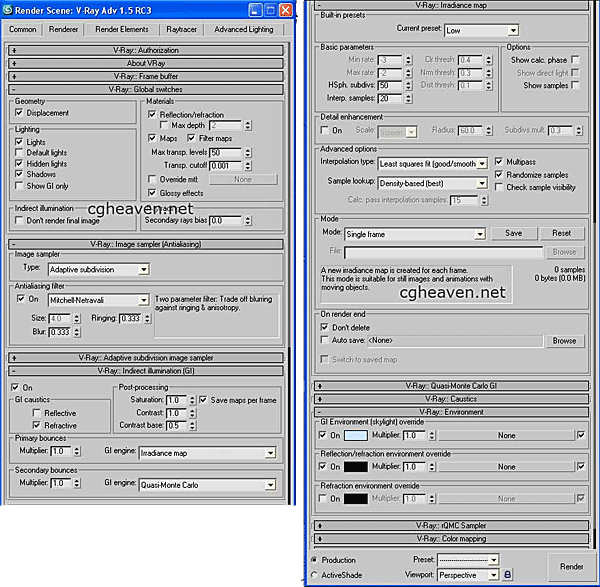
6# If sould start to look more denser now this is what we want for very thick grass. Let’s configure our render settings and material settings now. Ok, below is my vray reder settings.

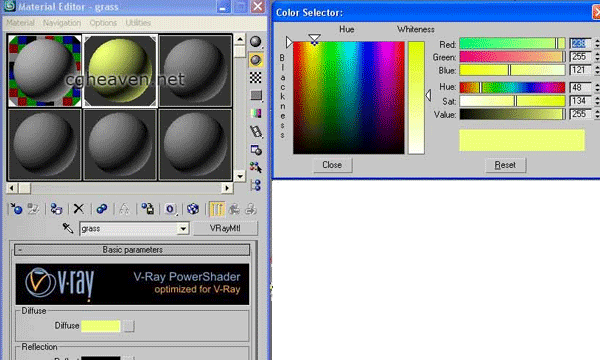
7# My grass material is a standard V-Ray material with a following coulor applied. Tee ground is just a gray material that is 30% lighter.

8# Make sure all your settings are set properly then clic render. It should do some calculating then render your scene. That’s pretty much. Here’s my scene after adding some object. Enjoy!

Fog Bias_Vray Glass

Playing with the material editor: Posted by www.cg-blog.com


The scene is just a Torus Knot object with V-Ray Sun + Sky. Nothing more.
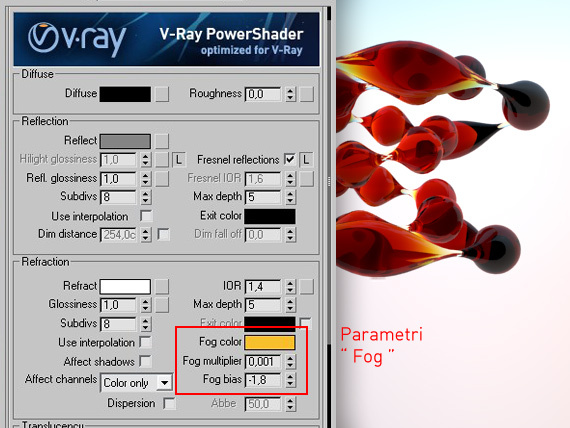
Here a screenshot to show you how I set this material:


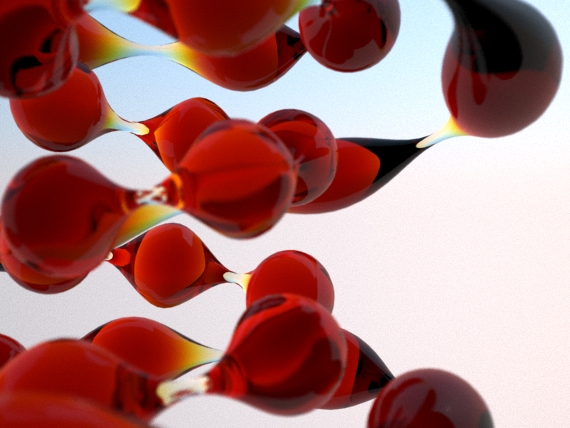
I used the classic V-Ray glass simulation, adding a touch of  ”negative fog bias” .
« Ohh Ciro, wow… it’s amazing! But…what does it mean “Negative fog bias” ?! » :-[
Well, a little introduction about general Fog Color settings is needed. Fog color is used to simulate colorful refractions, the default value is white (glass = neutral). But if we give a color, the glass will result in color: its color will be in relation to the thickness of the object:
  • Thin objects will have light and soft colors
  • Thick objects will have intense and dark colors
Just like the real world.
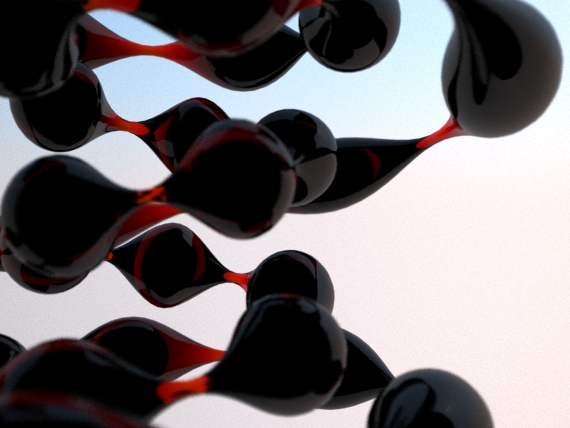
Here is the effect just for “Fog Color” option:


As you can see, the color intensity changes for thick and thin areas.
Fog Bias! This parameter allows you to adjust the contrast for transition thin-thik areas. If you use negative values you can ​​emphasize the effect producing:
  • darker colors for THICK areas
  • clearer colors for THIN areas
For this reason negative fog bias must be accompanied by a drammatic reduction of the “Fog multiplier” (0.001) to avoid too dark areas.
Here the parameters I used in the first image:
Fog color: 236 – 135 – 5 (rgb) / red color
Fog multiplier: 0,001 / brightens the refraction
Fog Bias: -1.8 / increase contrast thick-thin

Result:


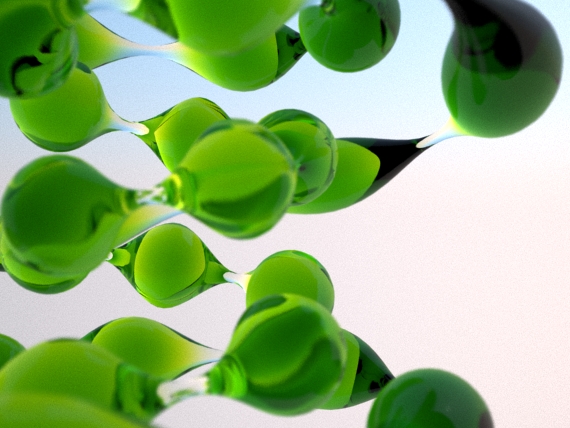
Choose a color and balance Multipier FogFog Bias. The reddish color is perfect for “warm glass” , but also with other colors, fun things happen:


( Fog Color = 210 – 238 – 54 / RGB)