The rule of thirds in 3ds Max
by Ciro SanninoThe Rule of Thirds is a basic principle of photographic composition we should know. It’s so simple rule that allows even novice user to create a good composition in a simple and effective way.
The method consists in dividing the image into 3 equal parts, horizontally as vertically, resulting in a grid like this:
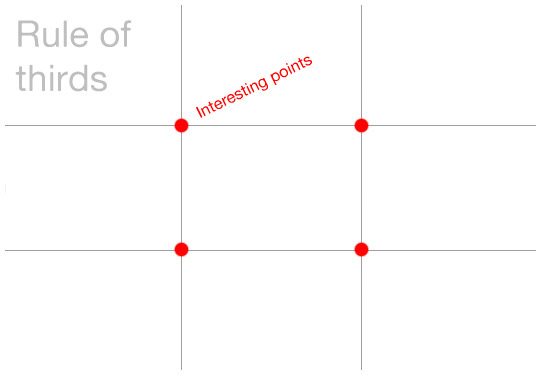
The points of intersection are called points of interest. Place your subject on these points and the picture will result dynamic, balanced and organized. This simple rule allows us to decentralize the subject in a right way.
Here are some examples:
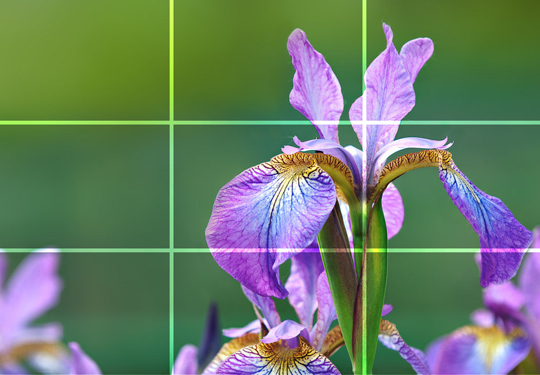
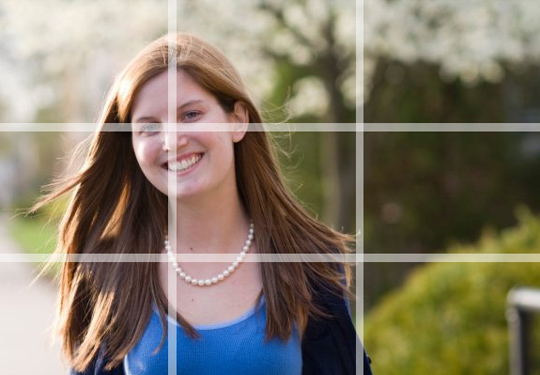
Even without grid is not difficult to see the same pattern in the picture below:

Many real cameras (and also photoshop-cut tool) display this grid. The purpose is to facilitate the composition of every image using the rule of thirds.
Now that we felt in love for this rule we would the same grid in our viewports to better organize our 3d scenes, ins’t it? Unfortunately at present there isn’t any button in 3ds Max to do that, so we have to make it ourself.
For the purpose you can use the “show safe frame” option: Shortcut > SHIFT + F (it shows the real render proportions)
Here’s how we can manipulate this function in order to get our idea:
- Just go to [+] > Configure> Viewport Configuration.
(In versions of 3ds Max in which there is no [+] then > click right button on the viewport name..)
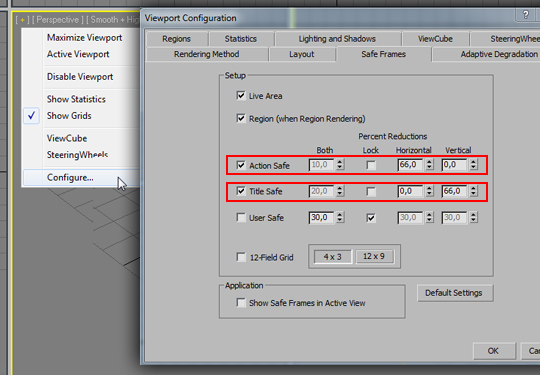
Activating Show Safe Frame (Shift + F) the viewport looks like this:
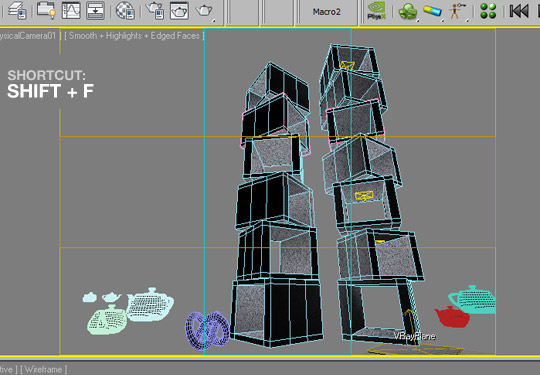
(To turn off this lines just unflag Action Safe and Tilte Safe)
Our viewport is ready to guide the composition through the rule of thirds.

No comments:
Post a Comment