 Watercolor is one of those effects that can be difficult to replicate digitally, but with a little practice and experimentation I think you’ll find it can be rather fun.
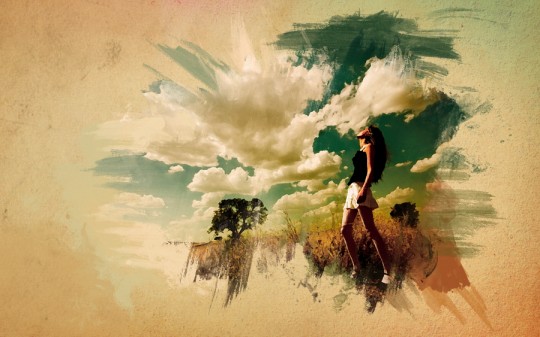
This tutorial will be based around creating a really cool watercolor effect, but this technique works just as well when creating paintings in Photoshop.
Step 1
The first step here is actually the first step in all my projects. I look for references images based on a sketch that i have in mind. This research and planning process is intertwined. It allows me to look through various elements and plan the direction to follow. Of course, I can change the direction during the creation as this process is fluid.
Step 2
Create a new document in Photoshop, I used a wallpaper size of 1920 pixels by 1200 pixels.
Download this old paper texture pack, and place the Paper 2.jpg in your document.

Step 3
Now let’s use some brushes, in this case the fantastic Bitbox set of watercolor brushes. Go ahead and download these watercolor brushes. Bitbox has some other amazing watercolor brushes as well, so feel free to test different ones as well.
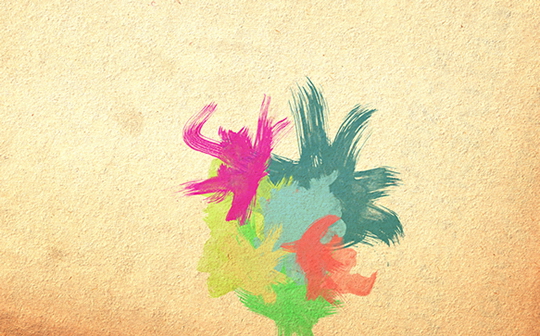
Create a new layer and select the Brush Tool (B) and blue for the color. Create a new layer, then with just one click paint place some paint on the layer. Select a different brush and use red for the color. Also you can try different Blend Modes, in this case I used Normal but you can try Multiply as well. Repeat this steps with different colors until you achieve something similar like int the picture below.
Step 4
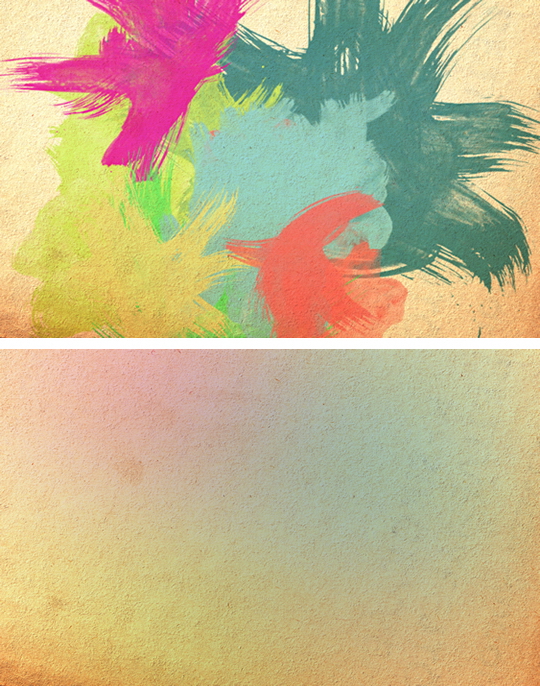
Group all the layers with watercolor brushes and duplicate the group. You can hide one. With the other layer go to Layer > Merge Group. Rescale the layer and make it bigger, as in the image below. Then go to Filter > Blur > Gaussian Blur, and use 250 for the value. Now change the Blend Mode to Multiply.
Step 5
Select the Eraser Tool, then select a big round brush and erase some areas from that layer, mainly in the center.

Step 6
Now let’s add a nice texture on top of this layers. You can use the image of your choice, it could be parchment paper for example. I’m using the image below:
Place the image in the document on top of the other layers. After that, change the Opacity to 70% and the Blend Mode to Darken (you can try different Blend Modes).
Step 7
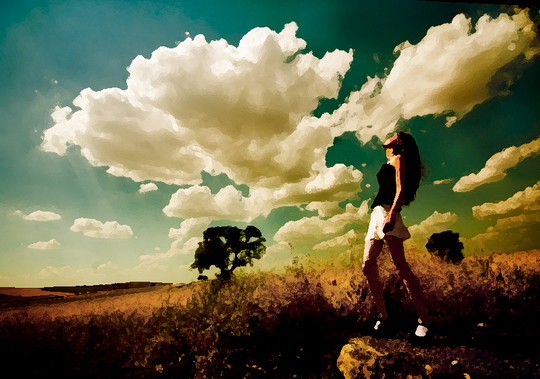
Now let’s place an image in our document. I’m using a photo of a girl in a field from deviantART, you can get it here.
Select the image and go to Filter>Artistic>Dry Brush. Use 0 for the Brush Size, 9 for the Brush Detail and 1 for the Texture.
Step 8
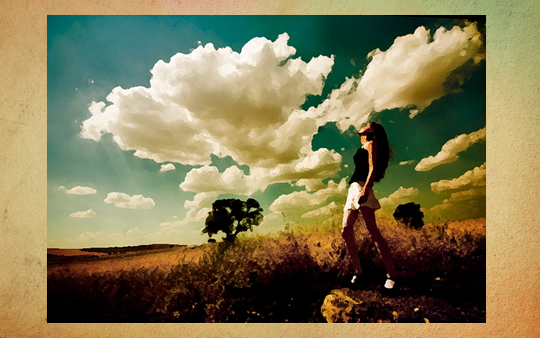
Select the image layer, after that go to Layer>Group Layer. The layer of the image will be inside a folder in the Layer Palette. Select the folder and go to Layer>Layer Mask>Hide all.
Step 9
So now, let’s use some Watercolor Brushes. The ones I use are from Brusheezy and you can download them here http://www.brusheezy.com.
So select one of the watercolor brushes and them white for the color and paint on the layer mask of the group. You will notice that the image will start showing.
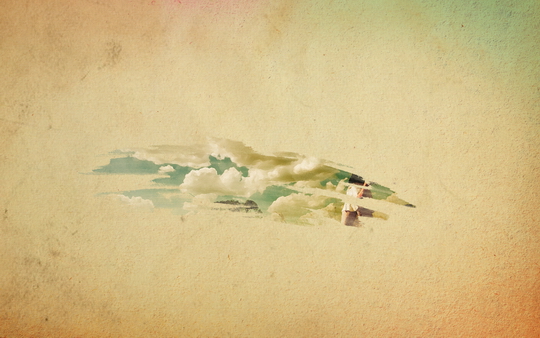
Keep painting untill you can see the image without losing the brush splatters.
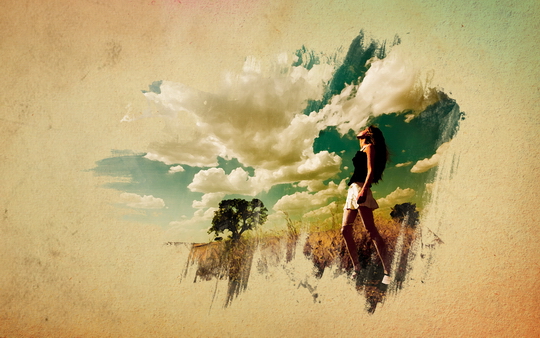
Step 10
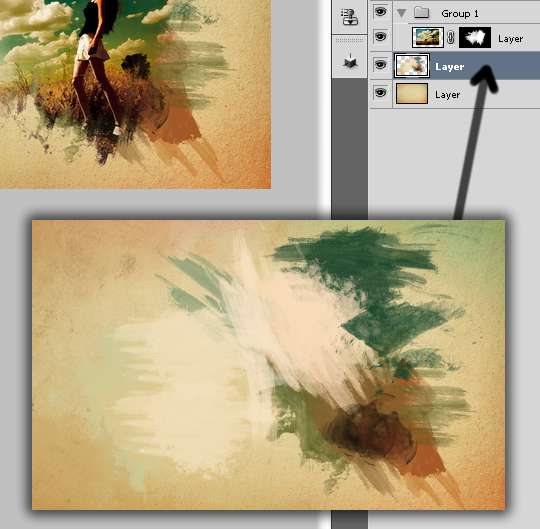
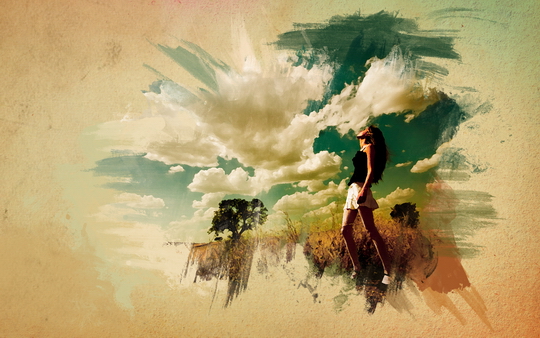
Now add another layer, this time beneath the Folder that the image is in. Then again using the watercolor brushes paint over the layer using familiar colors of the picture. Use the images below for reference.
Step 11
Let’s just adjust the color of the image. Select the image and go to Image>Adjustment>Photo Filter. Select Warning Filter (85) and 20% for the Density. Also select the Preserve Luminosity option.
Conclusion
The idea of this tutorial is to show how to create a design from multiple reference images, a simple sketch, and your own ingenuity. Just place your logo and that it you will have a really cool effect and super simple to achieve. That can be used for website headers to create a simply awesome design, and, of course to create posters.
Originally posted at http://www.icanbecreative.com
Originally posted at http://www.icanbecreative.com


No comments:
Post a Comment